Death to Cupcakes: A New Era Begins (Chocolate Peanut Butter Cupcakes)

Last year, I called it. Just saying.

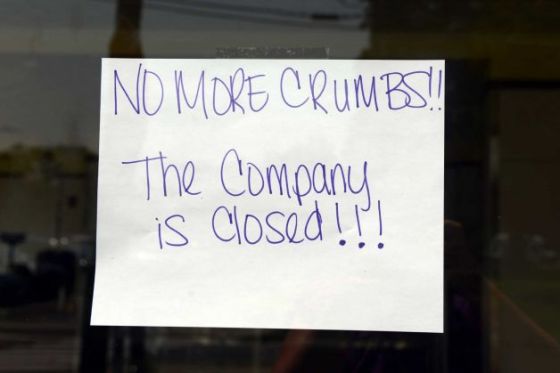
Its official Crumbs, one of the nation’s largest cupcakes chains, has closed its doors. It seems Americans are tired of this once trend. We no longer feel the need to have a portion sized, personal cake with frosting decorated to wow us. We no longer want art on a platter, we no longer feel the need to pay $3.00 for a cupcake. Americans are tired of your shit cupcakes, you’re out.

628x471

So that leaves me wondering, what’s the next trend? Cheesecake on a stick would be awesome! But then we would have to find portable ways to keep it cool. Gourmet Brownies, that’s something I can get on board with. What about good ol’ fashion cookies? Nah, too… ordinary.

What do you think the next food trend will be? Well if you figure it out let me know… in the meantime…

Chocolate and peanut butter go together like Bonnie and Clyde, Thelma and Louise, Tom and Jerry and Beyoncé and Jay-z. It just works, the salty and sweet, sweet and salty, throw a little sea salt on top and you have an edible euphoria unlike any other.

According to The thechocolatestore.com Americans consume 2.8 billion pounds of chocolate each year, which is approximately 11.6 pounds per person.  On the other hand according to the National Peanut Board (yes this exists), Americans spend $800 million a year on peanut butter, that’s a lot of jars! Obviously this paring is not going out of style any time soon!

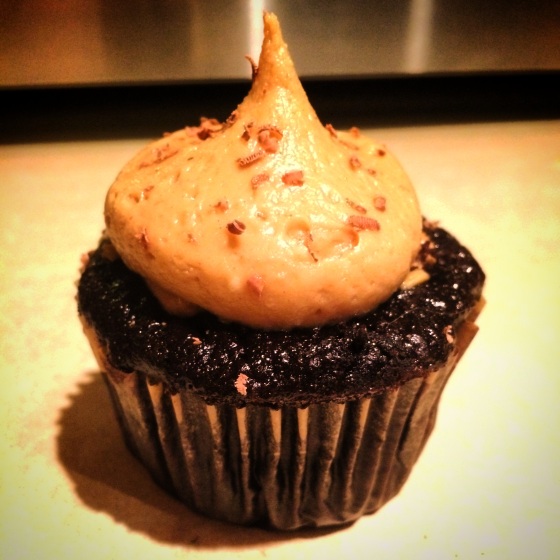
Courtney’s coworker requested chocolate peanut butter cupcakes for his birthday and I am always more than happy to deliver. I made a rich chocolate cupcake using both dark chocolate coco powder, and regular coco power. I also decided that this needed a peanut butter filling, so a mock Reese’s filling was pumped into the middle of these suckers, topped off with a peanut butter butter cream.

IMG_1633

Chocolate Peanut butter cupcakes:

If you are allergic to peanuts, these will surely kill you. But if you are a chocolate peanut butter fanatic, these are sure to melt your heart!

Makes 24 cupcakes

The cake was adapted from: Hersey’s “Perfectly Chocolate” chocolate cake recipe

2 cups sugar

1 3/4 cups all-purpose flour

1/4 cup Hersey’s Dark Chocolate Cocoa powder

1/2 cup Hersey’s cocoa powder

1 1/2 teaspoon baking powder

1 1/2 teaspoon baking powder

1 teaspoon salt

2 eggs

1 cup milk

1/2 cup vegetable oil

2 teaspoons vanilla extract

1 cup boiling water


Filling taken from a Wilton recipe:

1 1/2 Tablespoons warm melted butter

1/2 cup peanut butter room temp

3/4 cup confectioners’ sugar


Peanut-Butter, Butter Cream adapted from the wonderful Martha Stewart:

2/3 cup creamy peanut butter

1 stick of butter, softened

2 cup confectioners’ sugar

2 tablespoons whipping cream


Directions:

Cake:

  1. Heat oven to 350°F
  2. Mix together sugar, flour, cocoa, baking powder, baking soda and salt in large bowl. Add eggs, milk, oil and vanilla; beat on medium speed of mixer 2 minutes. Stir in boiling water (batter will be thin).
  3. Pour into cupcake liners or greased cupcake tins, fill 3/4 full.
  4. Bake for 20 minutes or until a knife inserted in the middle come out clean

Filling:

  1. Core the cupcakes using either a knife or a cupcake corer if you have one
  2. Melt the butter and mix into the peanut butter and confectioner sugar till combined
  3. Resist the urge to eat all of it
  4. Using a spoon, or a bag fill the cored cupcake with this mixture.

Frosting

  1. Mix butter and peanut butter together, add in confectioners’ sugar, and add in whipping cream.
  2. Whip till desired consistency
  3. Again resist the urge to eat it all
  4. Either pipe, or spread on cupcakes.


Island Time… (Toasted Coconut Key Lime Pie)

Paradise to me has always been on a beach. There is something so relaxing about the crashing sound of the ocean, the heated sand under you, and all of your cares washed out to sea. Paradise for me is located in a place I’d like to call home, Hawaii. Island time is really different than Eastern Standard Time. When work calls you at three in the morning, you can roll over and hit ignore and nobody cares. When you try to contact people at 9 o’clock island time, and no one answers, it is kind of relaxing. At 12 in the afternoon if you feel like going surfing on your lunch break, it’s expected.May 21 through June 1 I was lucky enough to go to Hawaii with my parents, a graduation present for finally finishing college. From May 21 to the 26 I was in Oahu, and from May 26 to June 1 I was falling in love with Maui.

IMG_8958

Waikiki from the pier

Oahu was nice, if you like the city. High rise building and double digit floor hotels rose off the beach like concrete giants. Honolulu could compare to a small New York City, with bustling storefronts, and business men and women struggling to predict the latest trend in there respected markets. While the city remained busy, the mountains kept a watchful eye in the background, reminding the workers that an escape was only a short drive away.

IMG_8942

The Waikiki beach, so idolized in movies and TV shows, appears nonexistent in this Jersey girls eyes. On the East Coast beaches can stretch as far as a half mile, but here you had maybe 20 feet until the water’s edge, if you were lucky.  A rocky coral lined the beach, which did not affect the standard surfer, but kept the midlife beach goer out of the water. I did take a surf lesson with Gone Surfing, and let me tell you, I would do it again in a heartbeat. I am not weak by any means. I work out almost every day, and I pride myself on my toned body, but paddling the quarter mile out or whatever it may be killed me! Luckily the Gone Surfing team helps you get out, or I would never have surfed in Waikiki.

As you traveled away from the highly commercialized, somewhat polluted city the true colors of the island finally showed through. The island is beautiful! All of the beaches on the island are open to the public, and all of them have something unique to them. I would love to travel to the North Shore in the winter and see the giant wave’s crash on the beach and everything else around them. For now the lush green beauty of the mountains and the calm pristine beaches held me over.

IMG_9178

The pristine beaches of Maui

Maui was something entirely different, Maui was an island of dreams. As we flew in (it’s a 15 minute plane ride from Oahu) we could see sugar cane growing all over the island, and the mountains reaching into the clouds at a height of over ten thousand feet. On the ground it smelled sweet, a mix of sugar cane and plumaira filled the air. We stayed at the Honua Kai in Lahaina and trust me I would live there if I could. Golden sand beaches stretched on, with a sunset every night just over Molokai. There was a reef maybe 6 feet off the beach with the best snorkeling I have ever seen and I have snorkeled all over the world. There was turtles, parrot fish, the entire cast of Nemo, and even an eel or two, I was in fish heaven. On land the things to do greatly outnumbered my time spent there. The road to Hana highlighted my trip. 1 road, 68 miles, roughly 620 curves and 59 one lane bridges all to view the best of Maui. Scenic overlooks, arboretums, waterfalls, and a black sand beach are just a few things that made this drive so special.

IMG_9293

One of the many wonders of Hana

Without a doubt the most busy tourist section of the island was Front Street in Lahaina. We went there every night, may it be for entertainment, dining, or shopping, Front Street was the place to be. The Old Lahaina Luau was a wonderful interpretation of the islands rich culture through the best way they know how, dance. It was amazing to see these dancers contort their bodies, as well as tell the history of the islands all in a way that everyone could understand. I also managed to strike up a conversation with our “waiter” about snowboarding, which I found odd in Hawaii, yet loved.

The fruit in Maui is unlike anything I have ever tasted. On the road to Hana I stopped by a roadside stand and got 7 bananas for a dollar, 7!!! They were the sweetest, freshest piece of fruit I have ever tasted. I also stopped at a different road side stand and got a home grown avocado. This thing was huge!!! Nothing like the store bought avocado in Jersey this thing was the size of my face!! The pineapple drips juices like watermelon. After breakfast each morning I found myself having to wash up because I was covered in sticky juices from the pineapple I devoured. If I lived in Hawaii, the only thing I would eat would be fruit that I picked in the morning, avocado, and fresh fish, what else could I need?

IMG_9352

I was not leaving without a fight

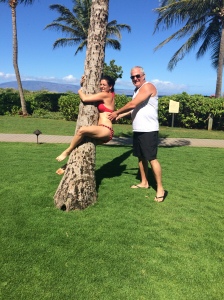
I did not want to leave. In fact my father had to peel me off of a palm tree. I miss the 78 degree weather every day. I miss watching the rain shower come off the mountains in the mornings. I miss talking about surf, and the morning fishing report with the locals. I could move there for an extended amount of time and never run out of things to do. One day I will return only to make plans to live there for a year.


Coconut Key Lime Pie:

IMG_9431

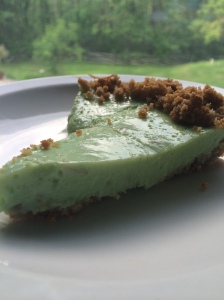
One of my favorite desserts (Kona Coffee flavored ice cream aside) was Key Lime Pie that I had at Lahaina Fish Co. I normally don’t like key lime pie, but this was the epitome of island taste. It was so fluffy I thought it was cheesecake at first, but the taste cannot be denied. It had the light texture of damp clouds, and the flavor of tropical islands, definitely one of the most memorable desserts on the island.

Ingredients:

For crust:

1 1/4 cups graham cracker crumbs

2 tablespoons of sugar

5 tablespoons unsalted butter, melted

1/4 cup toasted coconut

For the filling:

1, 14 ounce can of sweetened condensed milk

4 large egg yolks

1/2 cup plus 2 tablespoons fresh or bottled Key Lime juice

Toasted coconut to taste

Directions:

To make crust:

  1. Preheat oven to 350
  2. In a large bowl combine cracker crumbs, sugar, melted butter and coconut until combined.
  3. Spread with a fork in a greased 9 inch glass pie pan
  4. Bake for 10 minutes, remove and let cool.

Make filling

  1. Whisk condensed milk and yokes until combined
  2. Add juice and coconut flakes and whisk again until combined.
  3. Pour into the middle of the crust and bake for 15 minutes.
  4. Cool pie completely on a rack.
  5. Chill, covered for 8 hours.


IMG_9433


Which came first: Tequila vs. Revolution (Vanilla Lime Cupcakes)

One tequila, two tequila, three tequilas more, four tequila, five tequila, six tequila, floor.

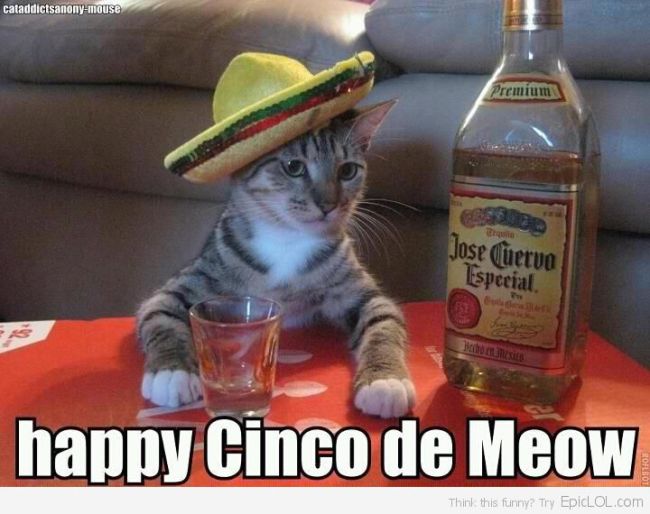
Happy Cinco De Mayo, we Americans will spend it sipping margaritas, taking shots of tequila followed by sour faces, and the hugging of the porcelain express. Leave it up to Americans to take a holiday from another country and turn it upside down, IT IS NOT A MEXICAN DRINKING HOLIDAY.

Image

WARNING HISTORY LESSON AHEAD: In 1861 Mexico was going through an economic crisis, debt was not being paid, other countries were involved, it was not a good time. Good ol’ Napoleon III decided that France should take over Mexico because of the prime real estate next to the US. So the French army went over to Mexico and started a French vs. Mexican war. On May 5th, 1862 they Mexican army was surprised by the French in Puebla but somehow, although the Mexican army was out numbered, they defeated the French for the battle of Puebla!

Mexico City was still taken over by the French, until they decided that they did not want it anymore in 1866 then handed it back over to the Mexican government. Cinco de Mayo in Mexico serves as a day of Mexican pride where they hold parades and mock battles, but tequila is not a requirement.  END HISTORY LESSON.

America has a great way of taking something and blowing it out of the water. Alcohol companies did a great job taking a celebration of pride and turning it into a day of drunken stumbling in the US, but hey who can resist a good shot of patron?!?

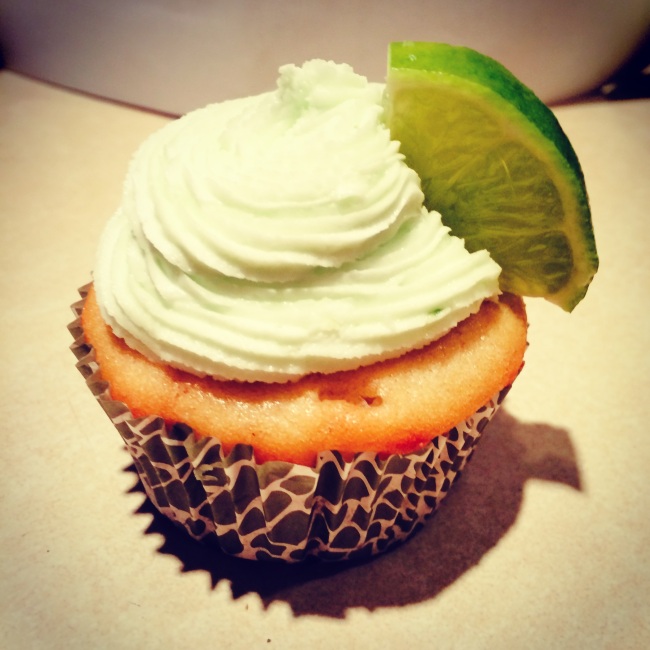
Unfortunately tequila and cupcakes don’t match, just like tequila and anything creamy doesn’t match, trust me I tried. However what is a must have with tequila? Limes of course and despite the lime shortage this year I was able to snag a handful and make wonderful Vanilla lime cupcakes. So take a shot, and chase it with these vanilla lime cupcakes! Happy Drinking Everyone!
Image

Vanilla Lime Cupcakes

Since tequila and cupcakes lead to a sour blend, these cupcakes signify what comes after the shot, and I am not talking about a sour face! This vanilla cupcake is super light and goes down easy, while the buttercream Lime frosting is not too sweet, but chases the cupcake like a champ!

Makes 12

Ingredients:

Cake

1 2/3 Cup of all-purpose flour

1/2 Teaspoon baking powder

1/4 Teaspoon of baking soda

1/2 Teaspoon of salt

1 Cup granulated Sugar

1/2 Cup unsalted butter, melted

2 Egg whites

1/4 Cup vanilla yogurt

3/4 Cup Milk

2 Teaspoons Vanilla extract

Frosting

1 Cup Unsalted butter at room temp.

6 Cups Powdered sugar

Juice of 1 lime, freshly squeezed

Zest of 1 lime

Few drops of green food coloring

Small lime slices for garnish, if desired.


Directions:

Cupcakes –

  1. Preheat oven to 350
  2. In a medium bowl mix the flour, baking powder, baking soda, and salt and set aside
  3. Melt the butter.
  4. In a stand mixer (or a large bowl for a hand mixer) mix the butter and sugar. Mix in the egg whites, yogurt, milk and vanilla until combined.
  5. Mix the dry ingredients to the wet ingredients until incorporated with no lumps.
  6. Fill cupcake liners 3/4 the way with batter, bake for 20 minutes or until a toothpick inserted in the center comes out clean.

Frosting –

  1. With a stand mixer beat butter until lite and fluffy.
  2. Add powder sugar, salt, lime juice, and zest and mix until creamy
  3. Mix in a few drops of green food coloring
  4. Transfer into a piping bag and frost the cupcakes when cool


Send Inspiration!!! (Perfect Chocolate, Chocolate Cake)

Lately I’ve gotten tired of the same old questions, “what’s new?” “Nothing”, “Whats up?” “Same ol’ same old.”, “Hows work?” “worky”. I need difference in my life, I need excitement. Luckily with the weather warming, cabin fever is finally wearing off and we can go for hikes and walks outside. Actually this past weekend I got to (re)plant potatoes with a local organic farm and got really, really sunburn – lobster status.

Image

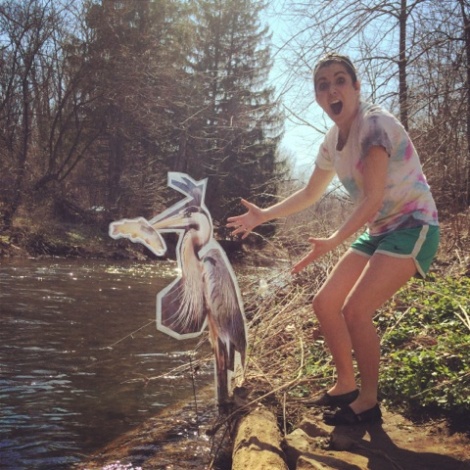
Look! A wild Heron!

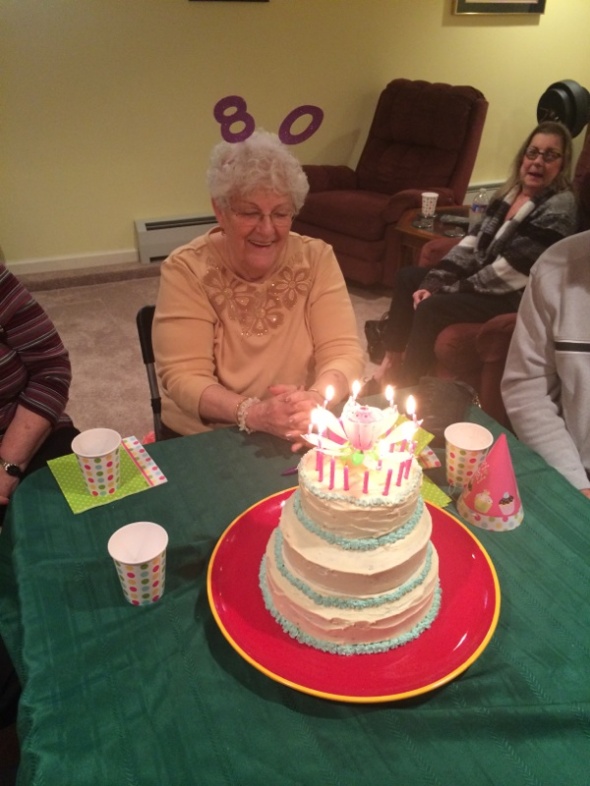
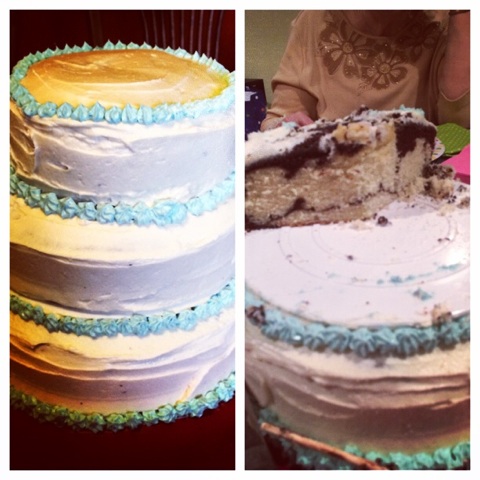
However even with this slight change in the weather I am still caught up in the mundane patterns of society. I don’t even know what to bake anymore, I’m running out of ideas, motivation is slipping from my slightly tan, and rather dry fingers. Bold statement warning: PLEASE SEND IDEAS! Ideas for baked goods, ideas for blog posts, give me a topic I can work with that. Give me a news article I can form something around that. I JUST NEED VARIATION IN MY LIFE. Okay boring rant aside I did get to make a pretty awesome cake recently. When you are 80 years old where do you see yourself? What do you hope to have accomplished in your life? To celebrate 80 years I made a 3 layered “zebra” cake for this wonderful lady (see photo below). This by far was the biggest cake I have ever made and the only time I made a tiered cake. I was actually stumped ealier in the week, I did not know what kind of support this cake would need. After a trip to A.C. Moore and $80 later I got the cake support I needed as well as a bunch of things I didn’t need. Image What I really want to tell you about in this cake is the chocolate. I used my favorite chocolate cake recipe, Hersey’s “Perfectly Chocolate” Chocolate cake recipe. This is by far the richest, wettest, chocolatlyist cake I have ever had. This is not the first time I’ve used this recipe, Pair this with a peanut butter ganache you have a heart breaker. Pair this with a Bailys butter cream icing you have a dream. IMG_7964 Without further ado, Chocolate addicts please feast your eyes on the greatest chocolate cake recipe you may ever encounter   Hersey’s “Perfectly Chocolate” Chocolate Cake Recipe This will make a double layer cake easy. This time I paired it with a Bailys buttercream icing, it was a beautiful mixture of flavors. P.S. This is the same buttercream icing I use on the Irish Car Bomb Cupcakes. Ingredients: Cake – 2 cups sugar 1-3/4 cups all-purpose flour 3/4 cup HERSHEY’S Cocoa 1-1/2 teaspoons baking powder 1-1/2 teaspoons baking soda 1 teaspoon salt 2 eggs 1 cup milk 1/2 cup vegetable oil 2 teaspoons vanilla extract 1 cup boiling water Frosting – 2 cups unsalted butter, at room temperature 5 cups powdered sugar 6 tablespoons Bailey’s Irish Cream Directions: Cake

  1. Heat oven to 350 degrees, and grease 2 9 inch round baking pans
  2. In a large bowl combine sugar, flour, cocoa, baking powder and salt
  3. In a stand mixer mix eggs, milk, oil, and vanilla.
  4. Add dry ingredients to wet along with boiling water and mix, the batter will be thin, this is normal.
  5. Bake 30 to 35 minutes or until a toothpick inserted in the middle comes out clean.
  6. Cool ten minutes before removing from pan, wait an additional 15 before frosting.

Frosting:

  1. In a stand mixer whip the butter on medium speed for 5 minutes scraping the sides of the bowl down periodically.
  2. Add the powder sugar 1 cup at a time, mixing between each cup, until fully incorporated.
  3. Add the Baileys and whip until light and fluffy.

23 wanna be (Chocolate Salted Stout Cupcakes)

How come growing up no one told me professional extreme athlete was a valid career choice? Was I not good enough, or pretty enough? Did I not grow up in a proper area? I am really to blame because my parents were worried about my safety 24/7? I want a refund.

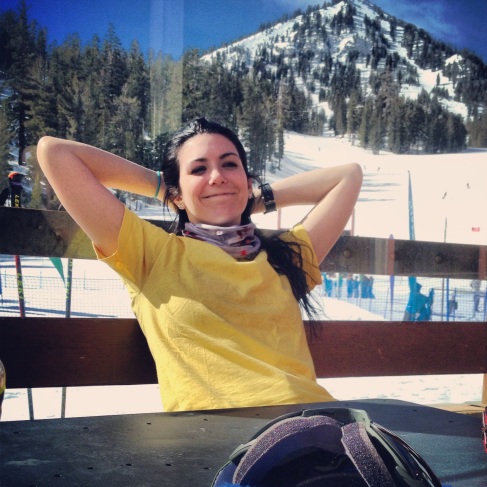
Social media brings us all closer to strangers. Every morning I roll over in bed grab my phone and stalk Instagram. I follow a few professional athletes and I love to see where they are in the world, from surf to snow, Fiji to The Rockies, there are no limits for these athletes. I am jealous, to say the least. From Jamie Anderson to Lakey Peterson, I want their lives!

Image

I could definitely handle this life.

Growing up I was never able to “push the limits” of these sports. Surfing to me was an escape. My parents would drag 900 pounds of umbrellas, blankets, coolers, small tents and sunscreen to the beach; I on the other hand, would drag a board in hopes that I wouldn’t have to be embarrassed by them telling me to apply sunscreen every 15 minutes (I was also the least tanned kid on the beach). But growing up opportunities to become a professional athlete never opened for me, who wants to take the whitest kid on the beach and farm them to have potential, not to mention who wants to take a kid from Jersey where our biggest waves are only 3 feet.

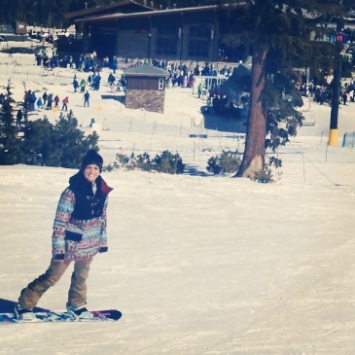
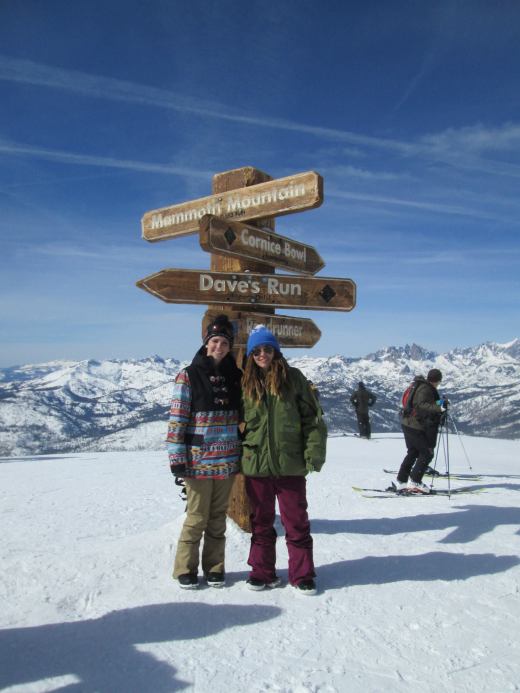
Snowboarding in Jersey (or the East Coast in general) was also a joke. I learned to snowboard when I was 16 (already too old to be a professional). As a family we went up to Vermont one weekend and I took a snowboarding lesson with my cousins, while my Mom and Dad learned to ski. I tried really hard to pick it up, but you can only learn so much in a weekend. My Father did not do so well skiing, even to this day he does not find it enjoyable, so needless to say that trip to Vermont was our last. I went snowboarding at least once a year, every year, till my senior year in college, that’s when I met Courtney. My parents took me to a shop to buy a snowboard for my 22nd birthday and my little dread head walked into my life. For the past 2 years I have gone snowboarding more times than I can count, I have even gone to California (story here), but now that I am 23 I am too old to experience a professional career or even too old to enter any camps to get better!

Image

In Mammoth

So here is a shout out to all those brands supporting the careers of athletes… Why can’t I be a 23 year old professional athlete? Wouldn’t a 23 year old athlete who strives to be the best make a good role model for those who are younger, or even older? Why not take on a 23 year old and give them the training experience of a life time?

Let me tell you something, I am competitive, I have drive, and nothing can keep me down. I would be the best person for a professional team to farm, even if I am 23 years old. Teach me. I have so much will to learn, I am constantly telling Courtney to teach me more teach me more, she gets so tired of hearing it. So it takes a year or two, I promise I will be the best.

Progressing sixteen year olds can only be so inspiring. Who am I supposed to look up to? There are very few professional athletes who have started at the age 16, they are all winning metals and stealing the spotlight by then. As a 23 year old, I have no one to look up to, and I’m sure many women of my age feel the same. How are we to progress when 16 year olds have already done it? What do you think that does to my ego (spoiler alert, its crushed).

After going on our trip to Mammoth, my eyes have been opened. I want to live out west, I want to ride every day, I want the opportunity to learn and grow in these types of sports. But who will take me up on that offer?

Sincerely, 23 and a professional wanna be.

Image

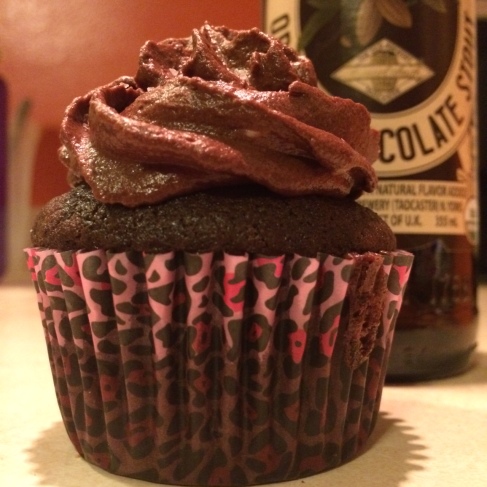
Best chocolate cupcake I’ve had in a while!

Salted Chocolate Stout Cupcakes

Had a bad day? What a better to eat your feelings then with stout cupcakes. These taste like a chocolate covered pretzel and make the chocolate lovers night complete.
Makes roughly 24 cupcakes

Ingredients:

Cake

1 cup chocolate stout

3/4 cup Dutch process cocoa

1/2 cup (1 stick) butter

2 cups sugar

2 eggs

1/2 tsp. salt

2 and 1/4 cups all-purpose flour

2 tsp. baking soda

1 cup buttermilk

1 tsp. vanilla extract

Chocolate Buttercream Icing (Need to double if you are piping your frosting)

1/2 cup butter (1 stick), room temperature

1/2 cup cocoa powder

2 cups powdered/confectioner’s sugar

1/4 cup milk

Sea salt for garnishing

Directions:

Cake

  1. In a small sauce pan melt butter, when its melted add stout and bring to a low simmer.
  2. While the butter beer mixture is simmering beat sugar and eggs in a stand mixer. Add flour, and salt.
  3. Mix butter milk and baking soda, and mix into the dough along with the vanilla.
  4. Take the butter and stout mixture off simmering and whisk in the cocoa, when smooth mix into dough.
  5. Mix everything until incorporated, pour into cupcake liners (3/4 the way full) and bake on 375 degrees for 15 minutes, or until toothpick inserted in the middle comes out clean.

For Icing:

  1. WAIT TILL THE CUPCAKES ARE COOLED
  2. Pour all the ingredients into a stand mixture, whip slowly at first and then at medium speed until fluffy or around 2 minutes.
  3. Pipe or frost onto cupcakes
  4. Sprinkle sea salt on top just for flavor


Questions or Comments? Please email NotSoCulinaryGraduate@hotmail.com

To the Future (Pink Champagne Cupcakes)

At 11,060 feet above sea level, looking over what felt like the entire world, I realized what it would take to make me happy.

Last week (February 12-19) Courtney and I left for Mammoth Lakes California to go snowboarding. Courtney, being the dread headed, nature loving, snowboarding “badass” that she is; used to live in Mammoth and frequently left me wondering what that part of the country was like. As an East Coast Jersey Girl, I don’t think I was ready.

Image

The Top of the World, Or Mammoth mountain.

Growing up at sea level or below, I did not know what a real mountain looked like. Sure there are ski resorts around us, but I never realized that standing 800 feet above sea level just made you a tall hill. When I first learned to snowboard I went to Bromley Mountain in Vermont, standing 3,281 feet high that was the tallest thing I ever saw, but I never went to the top (so many regrets, but I think that saved me from breaking a few bones when I was just learning).

Image

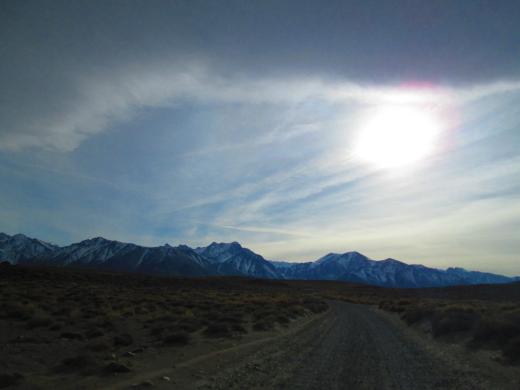
Mountains out of the desert, coming from the hot springs

Arriving in Mammoth On Wednesday February 12 was a life changing experience for me. Never in my life have I felt so small. These snow covered giants putrid from the dessert making you focus all of your attention on them, and what small bit of attention is left goes to the beauty of the nature around you. The dessert, so vast and so wide, makes you wonder how anyone found what wonders you see in front of you. The pine trees, whose height puts the Rockefeller Center tree to shame, towers over everything, and watches the sunrise with the mountains before everyone else each morning. When the mountain air reaches your nose you wonder why anyone would want to live in the city. The clean fresh air tickles your nose with the smell of Christmas pine and snow, bound to bring you back to those holiday candles you spent hours in the store picking out.


The first full day there we went snowboarding. I have to admit, this terrified me for months leading up to this trip. I am used to a hill, I trained on a hill, I practiced on a hill, and this was a mountain, literally a mountain. But soon my fear proved to be silly, the quality of the snow was unlike the icy east and I was easily able to descend the slopes with confidence and ease. Like my Vermont experience years before I never snowboarded down from the top, but I did go there. The world is in your eyesight, but lies just out of reach of your fingertips.

Image

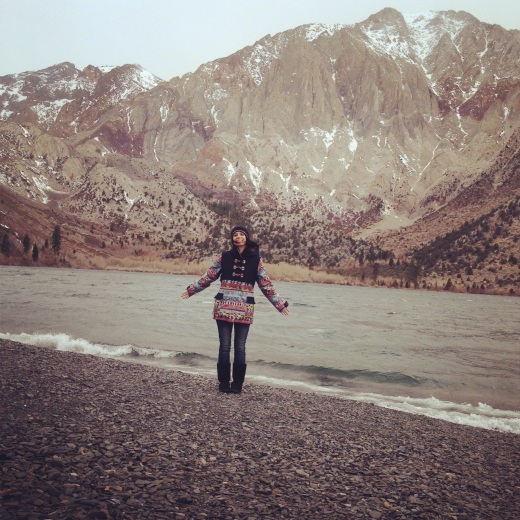
Lake Convict, California

I am born and raised a Jersey Girl. I have driven down route 195 going 90 miles an hour, windows down and music blasting, to reach the beach before the New York Bennys. I have laid in a drunken collapse in the sand with salt in my hair bullshitting about being famous one day. I have promised myself that I would never leave the Jersey lifestyle of not pumping our gas, giving the finger to those who look at us weird, and the beach that has put us on the map. I have promised myself I would never leave, until now.

Image

Arriving at the airport and seeing the mountains for the first time

I have traveled before, I have been to small islands and major cities, I have been to different countries and different continents, however this is the first time I really felt small. There is so much out there to see. I want to travel the world. I want to work on a snow covered mountain top for a few seasons of my life and I want to be able to determine what makes each mountain range different. I want to see islands, and be able to jump off a boat when I feel like a swim with the dolphins is in order. I want to see the world, and what makes it so big. This vacation made me realize that while I am 100% happy sitting on a beach in Jersey drinking vodka out of a water bottle, there is so much more I have not seen.

All of this dreaming big does come with an anchor, my car lease. Okay, I admit, that sounds silly. I am giving myself until the end of my car lease or 33 months to save up money to make the first move of my life. I am aware that I will have to leave my cushy desk job and start over somewhere completely different, and this scares me, but there is so much the world contains that I have never seen.

So cheers to new beginnings to the rest of our lives.

Image

Pink Champagne

Pink Champagne Cupcakes

Based off Betty Crocker’s Recipe  

Yields about 20

A guy at work asked me what is up with the alcoholic cupcakes lately. I have no idea. I cheated again using a box mix, sorry “home-made-to-the-death”ers. This cupcake comes out super light with a mild champagne flavor. I used Yellow Tails Pink Champagne, but you can substitute it with any kind, try different flavors for an interesting combination.

Ingredients

For the Cake:

1 Box White Cake Mix

1 1/4 Cups of champagne

1/3 Cups vegetable oil

3 Egg whites

Champagne Frosting:

**Before making see note below**

1/2 Cups butter or Margarine, room temp

4 Cups powdered sugar

1/4 Cup of Champagne

1 teaspoon Vanilla

Red Food Color to look

Directions:

Cake:

  1. Preheat oven to 350 degrees Fahrenheit, line cupcake pan with wrappers
  2. Dump the packaged mix, champagne, Veggie oil and egg whites into a large bowl and mix until the lumps are gone.
  3. Fill cupcake wrappers 3/4 of the way with batter.
  4. Bake 17-20 minutes or until a knife inserted in the middle comes out clean.

Frosting:

  1. Let the butter sit until soft or room temp.
  2. Mix the Butter with a stand mixer, adding the powdered sugar one cup at a time.
  3. Mix in the champagne and the vanilla. If the frosting is too thick add more champagne.
  4. Mix in the food color until it get the pink color as desired

**Note** After mixing let this frosting sit in the fridge for at least 30 minutes to harden. The champagne makes this have a weird texture, but once refrigerated this loses the weird consistency.


Questions or Comments? Please email NotSoCulinaryGraduate@hotmail.com

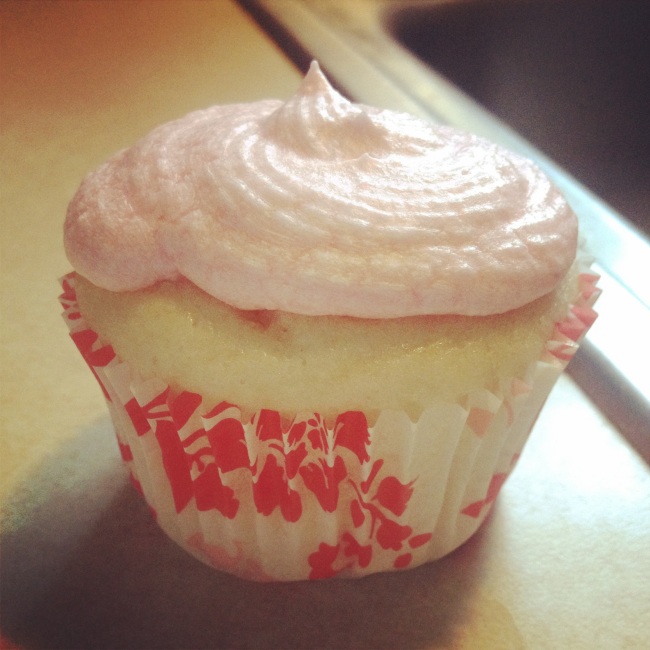
A Lemon Christmas (Mini Lemon Poppy Seed Muffins)

I used to wish my Christmas tree would burn down.

IMG_5678

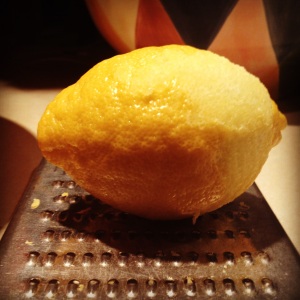
Using an old grater for my zest

I hated Christmas. I hated the fact that after Halloween (my favorite holiday), Christmas music would start. I hated the fact that it got cold. I hated slushy snow. I hated speeding hours in a kitchen with my mother. I hated spending countless hours, or multiple days, decorating an 11+ foot tall Christmas tree that we would get every year.

Image

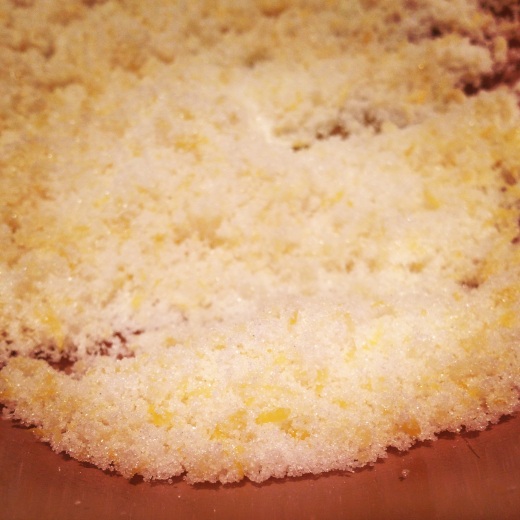
Lemon and sugar mix

I guess you can call the child me a Grinch. I didn’t understand it. Why bother cutting down a perfectly good tree (as if humans aren’t doing that enough already), and spending countless hours arguing about how to decorate it, only to throw it out the week after Christmas.  Sure it looked pretty for that occasional family member that wandered over to drop something off, but what was the point?

We spent evenings that felt like eternities manipulating cookies to taste just like the ones from the store. What was the point? Couldn’t you just, I don’t know, buy them?!?! During the Christmas season everyone just complains about their diet anyways.

Image

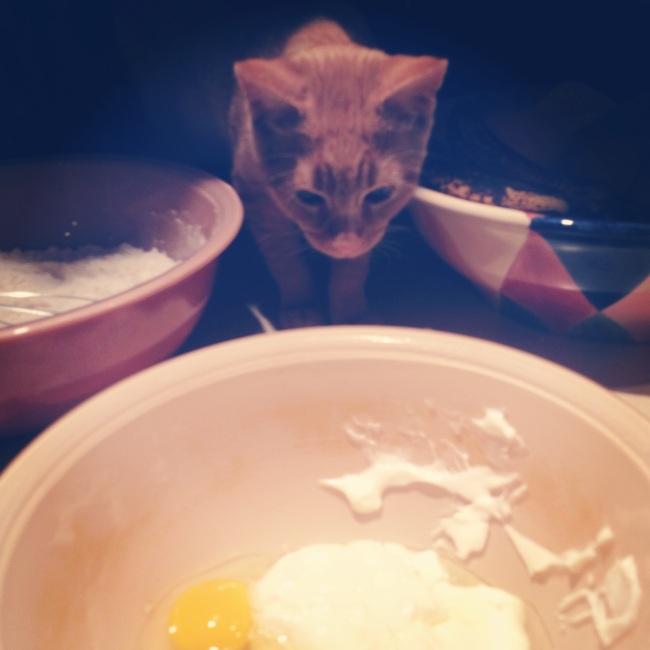
Someone was interested in the Sour Cream mixture.

Looking back to how much of a Grinch I was, it makes me wonder how I got to where I am today. I cannot wait until snow hits the ground, this means Santa’s coming!!! The smell of the tree, while sitting next to the fire, looms my dreams for the rest of the 11 months. Don’t get me started about cookies; I think it is obvious what happened there (if not feel free to read my post on Chocolate Chip Cookies).

Image

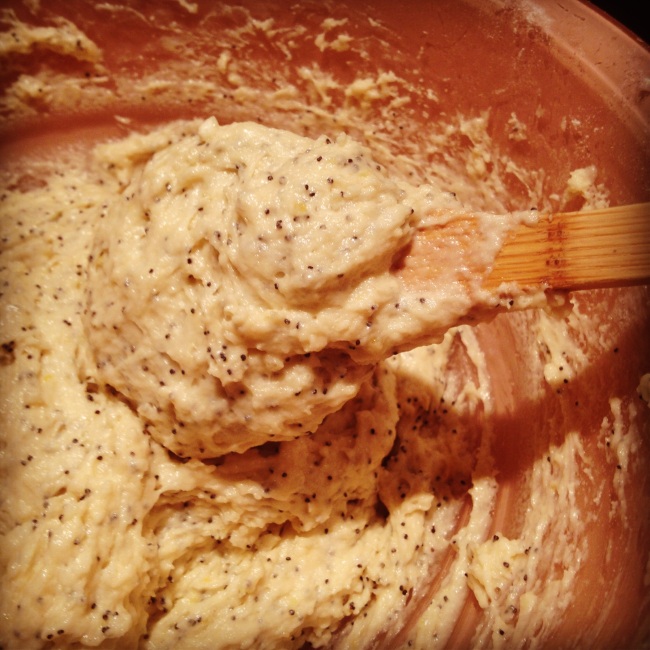
Batter

An Odd thing about me and Christmas, for some reason I always associate Lemon with the holidays. Perhaps it is because almost every Christmas morning my mother would make Lemon Poppy Seed Muffins. Or perhaps it has something to do with the lemon drop cookies that I spent hours recreating. It could just be my obsession with zesting things and the smell that lingers on my fingers afterword’s.

Anyways, last night (while dancing to Christmas music) I made mini lemon poppy seed muffins for breakfast at work. These guys love when I bring in treats for them, and it gives me an excuse to eat all day. Throughout the morning I had countless people exclaiming how I am ruining their diet, while stuffing three mini muffins in their mouth and taking two for after they swallowed.

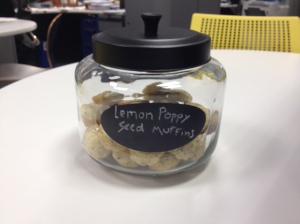
IMG_5676

My mini muffins in my cookie jar, almost gone that is

Looking back at my childhood I am almost 97.2% positive that my mother never made these from scratch. I think she cheated and used a mix. Well that cheater, cheater, pumpkin pie eater; try this one next time!

Mini Lemon Poppy Seed Muffins

Ingredients

1 lemon, zested and juiced

2/3 Cup sugar

2 cups AP flour

2 teaspoon baking powder

1/4 teaspoon baking soda

1/4 teaspoon salt

3/4 Cup sour Cream

2 large eggs

1 Teaspoon vanilla extract

1 Stick unsalted Butter, melted

2 Tablespoons poppy seeds

Directions:

  1. Preheat Oven to 400 degrees, grease muffin tins (or use liners, your call)
  2. In a large bowl mix the lemon zest in with the sugar. This is easiest done with your fingers. Mix until all the sugar is wet with lemon.
  3. Add flour, baking powder, baking soda and salt. Mix this together well.
  4. In a medium size bowl whisk together sour cream, eggs, vanilla, and butter.
  5. Pour the wet ingredients over the dry ones and mix until wet.
  6. Add Poppy seeds then stir to combine
  7. Fill muffin cups 3/4 of the way and bake for 10 minutes or until a knife inserted comes out clean.

Optional Icing

For icing I did not have any lemon juice, or lemons lying around. I only had 1 which I used for the muffins. I used a vanilla glaze, but a lemon glaze is what I intended on doing so I’ll give you both options.

Lemon

1 Cup Confectioners’ sugar

2-3 Tablespoons lemon juice (preferably fresh)

Mix till combined, drizzle over cooled muffins.

Vanilla

1 Cup confectioners’ sugar

2 Tablespoons milk

1/2 Teaspoon vanilla extract

Mix till combined, drizzle over cooled muffins

Makes 4 dozen mini muffins, almost 1 dozen normal sized muffins (amount ranges on size of the tins)

Cheaters Coffee Cake

Image

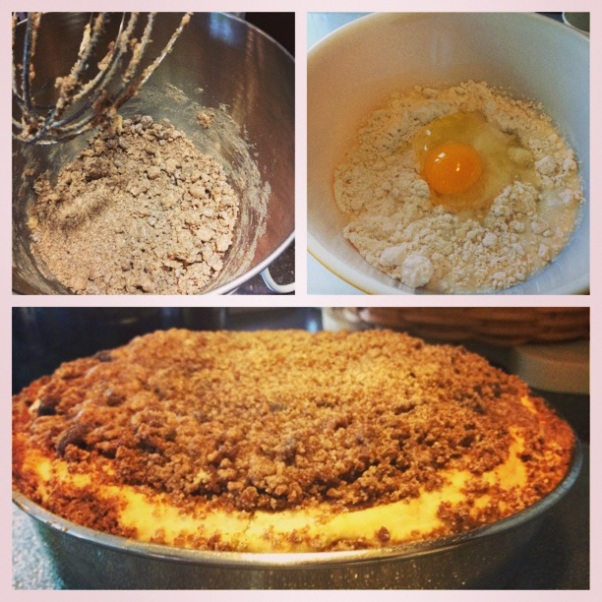
The Journey of the Crumb Cake

                I was never one for cheating, but I like to win. Family monopoly games turned into battles to the death, unless I was the dealer. If I was the dealer, it was always a landslide victory in one direction. I’m not saying I cheated; I just helped out my cause a little.

                Cheating in sports is another thing, I never cheated, but cheaters always made the game more interesting. There was always that one team at the softball field that counted too many runs, or sent someone up to bat to early. This was always resolved with at least one coach being ejected from the game, parents screaming obscenities, and at least one girl crying. It’s not a game unless someone cries.

In baking I can proudly say my cheating is minimal. I prefer homemade everything, to premade anything. Cookies in the bag don’t cut it, box cakes can suck it, and store bought can remain in the store. There is an adventure involved in cooking from scratch, a sense of accomplishments, and pride.

Image

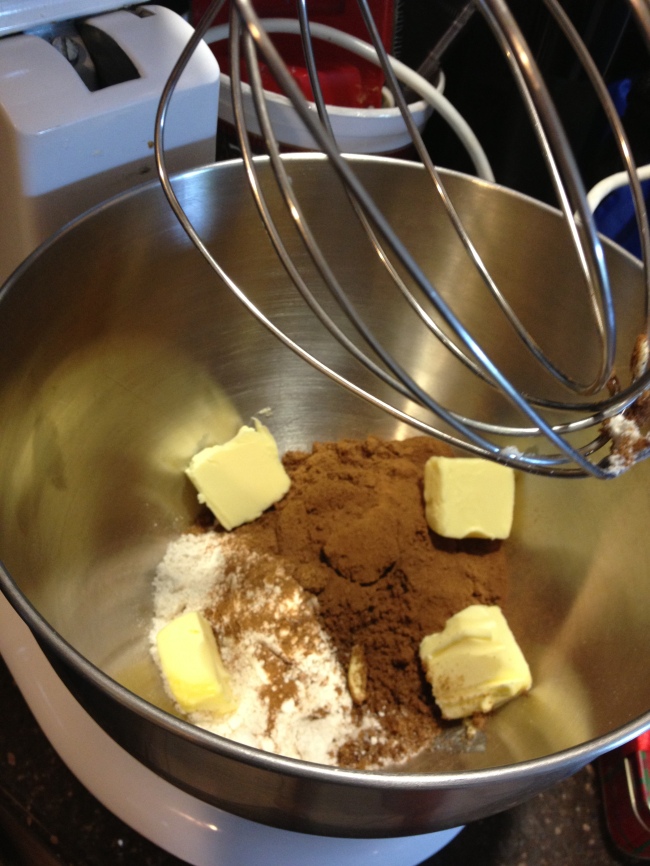
Don’t cheat and use a stand mixer, DONT DO IT! Do what I say not what I do.

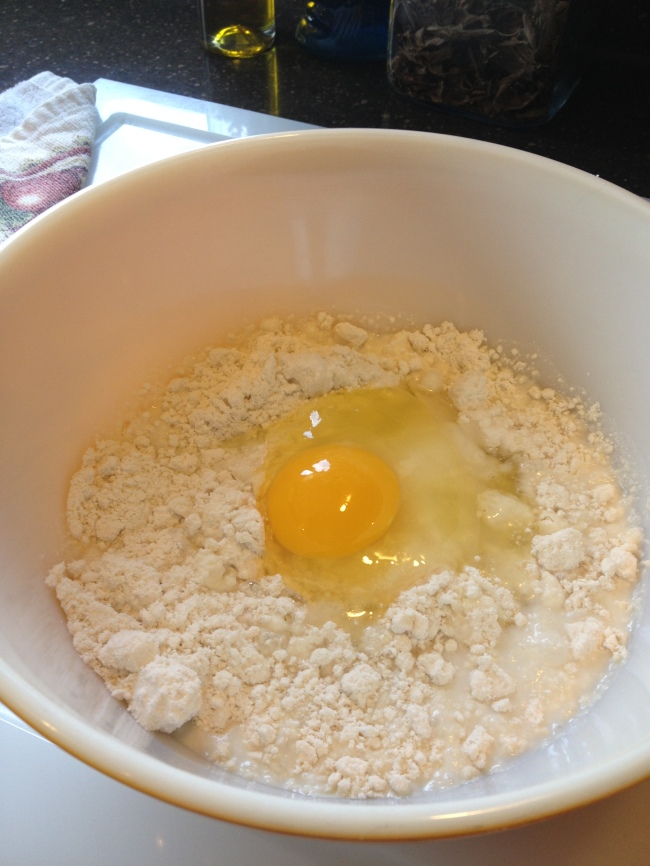
Today, I confess, I cheated. Today I made coffee cake and used (gulp) Bisquick. I could have made homemade Bisquick, but I’ll save that for another story. This was one of the easiest recipes I could have ever followed, and at 7:00am easy is what I need. I even accomplished this recipe without my morning cup of coffee.

Image

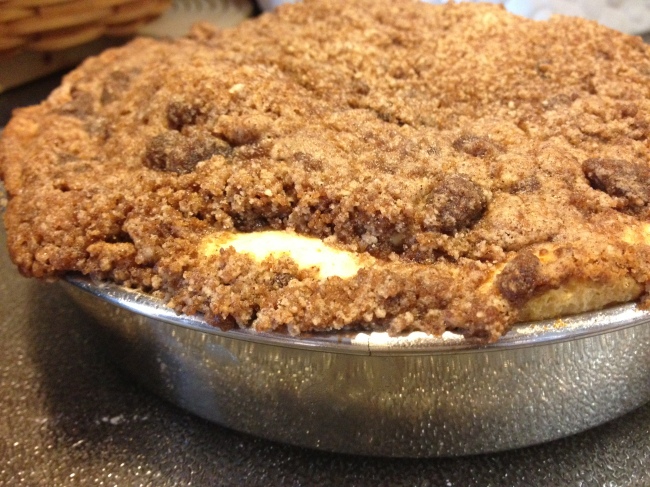
                Apparently, this Bisquick coffee cake is a classic. My mother commented how her mom used to make it, and on mother’s day, tradition is the only thing that mattered. The cake part is light and fluffy, sweet and moist, comparable to a slice of cloud from the heavens. The crumbs, if you are a coffee cake fiend, like myself, I recommend doubling or tripling the crumb topping. I doubled it, and still could have used a little more. But the small balls of sugar will forever satisfy my early morning sweet tooth.

Image

The crumbly finished product

Without further ado, here is my slice of early morning goodness. Remember, cheaters never win, but at first they do succeed.

Cheaters Coffee Cake:

Ingredients:

Cinnamon streusel

1/3 Cup Original Bisquick mix

1/3 Cup packed brown sugar

1/2 Teaspoon ground cinnamon

2 Tablespoons firm margarine

Coffee Cake:

2 Cups Original Bisquick mix

2/3 Cup milk

2 Tablespoons sugar

1 Egg

Directions:

  1. Heat oven to 375*F. Grease a 9 inch round pan.
  2. In a small bowl, stir streusel ingredients until crumbly. If you like big crumbs try using your hands. For smaller finer crumbs use a whisk.
  3. In a medium bowl, mix coffee cake ingredients until blended, then spread evenly in pan.
  4. Sprinkle the streusel on top of the cake batter.
  5. Bake 18 to 22 minutes or until a toothpick inserted in the middle comes out clean.

Taking on the controversies: Chocolate or Vanilla

Vanilla with choclate frostingIt is the ultimate culinary showdown, the battle of all battles, the controversies of all controversies. Which would win: chocolate or vanilla?
Oddly enough, chocolate and vanilla were introduced to the modern world at the same time. Hernán Cortés in 1520 brought the chocolate and vanilla spices back from the Aztecs to Spain, almost spontaneously the controversy started. Well, not quite.
Before discovered by Cortés, Aztecs used coco beans as a form of currency, 100 beans could buy a good sized turkey. The Aztecs even believed that coco beans had divine properties, similar to many women’s feelings about chocolate once a month. When good ‘ol Cortés first tried chocolate he described it as “a bitter drink for pigs”, but after it was mixed with cane sugar it spread like wildfire across Spain.
While chocolate blossomed and spread over Spain, vanilla remained centralized in Central America. Why you may ask? Because that was the only place it could be successfully grown. When vanilla grows it produces a flower and only if that flower is pollinated by a certain type of bee will it produce beans. It wasn’t until 1841, when a French slave girl discovered that vanilla could be hand pollinated, therefore produced globally and used in abundance. Today we have vanilla everything: vanilla cupcake, vanilla ice cream, vanilla candles, vanilla body spray, vanilla soaps.
In a way, vanilla won. Vanilla has psychological effects that can calm you down and can prevent you from getting over anxious, it is the number one ice cream flavor in the world, and it is my mom’s favorite cupcake flavor.

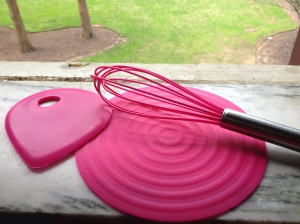
My half-birthday presents! Wisk, Bowl scraper and heat resistant mat. Thanks Mom!

My half-birthday presents! Wisk, Bowl scraper and heat resistant mat. Thanks Mom!

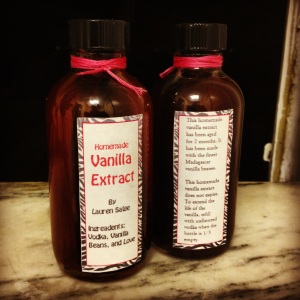
Today I decided to test out a few things. My half birthday was April 18, and my mom sent me some cool baking supplies that she found. I got a rubber coated whisk, a bowl scraper and a heat resistant mat, all in pink, my favorite color. Also on my half birthday, my homemade vanilla extract was done sitting!!! After two months of waiting what a better way to try out some vanilla cupcakes than use homemade vanilla!!!
Making homemade vanilla extract is pretty simple, and can be cost effective. Vanilla extract is two beans per every 4 ounces of vodka, that’s it, nothing fancy just beans and vodka. Vanilla beans in quantities greater than 2 can be found online at Amazon. Twenty-four beans can set you back as little as sixteen dollars, and 4 ounce jars can also be found online for as little as nine dollars for a 12 count. Cheap vodka can be used for this, the cheaper the better! McCormick vanilla extract can cost up to ten dollars for a 3 ounces bottle. When made at home each bottle comes to costing around four dollars per 4 ounce bottle.
To make your vanilla extract take two vanilla beans and split them long ways, and then cut them in half. Next submerge the four pieces of vanilla beans into vodka in a four ounce glass container. Place your vodka and bean mixture in a dark cool place for about 2 months. Once a week shake the containers for a few seconds and then put them back. That’s it, in two months you did it! You created your very own homemade vanilla.

Homemade Vanilla

Homemade Vanilla

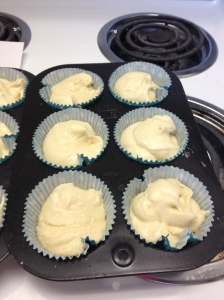
Anyways back to the cupcakes. These cupcakes are basic beginner style cupcakes, nothing fancy, anyone can do it. I decided to pair them with a chocolate frosting so the whole chocolate vs. vanilla controversy could come to life in my cupcake.
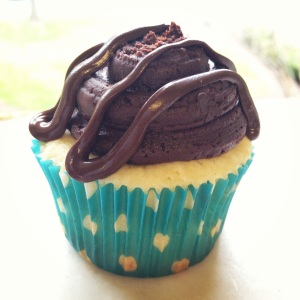
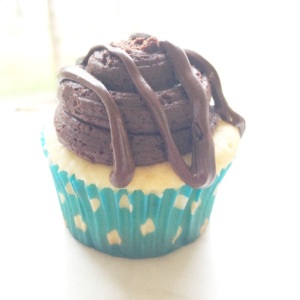
This chocolate frosting was probably the best tasting chocolate frosting ever, but one problem, its heavy. It was extremely hard to pipe this frosting out. I would use this frosting again, but I would use it for a cupcake filling, not a frosting. If anyone has a fabulous light chocolate frosting and they are willing to share, please, I am accepting donations.

IMG_1652
This vanilla cupcake with chocolate frosting is the reason that there is a controversy over which flavor is better. The cupcake itself is air. The vanilla flavoring comes through very well, it is sweet but not candy land gone suicidal sweet, with undertones of the cake my mom made for my eight birthday party. The frosting on the other hand, it might as well be chocolate fudge. This is a chocolate lovers dream! With just cocoa powder, confectioners’ sugar and butter, the chocolate comes to life. It is sweet, rich and smooth. I was going to drizzle the cupcake with white chocolate but an incident with a plastic bag and the microwave said that milk chocolate would have to suffice.
For a beginners vanilla cupcake, or a cupcake to show off your homemade vanilla skills I highly recommend using this fool proof vanilla cupcake recipe.

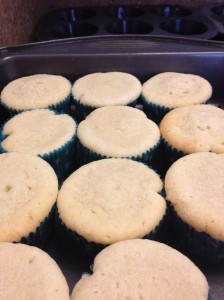
Cooling Cupcakes

Cooling Cupcakes

-Cheers!

Recipie:
Fool proof Vanilla Cupcakes: Makes 12
Ingredients:
1/2 Cup softened butter
1 Cup sugar
2 Eggs
2 Teaspoons vanilla extract
1 ½ Cups all-purpose flour
1/2 Teaspoon baking powder
1/4 Teaspoon salt
2/3 Cup cold milk
Directions:
1. Preheat oven to 350 *F
2. Cream together butter and sugar.
3. Add in eggs one at a time, mixing after each addition.
4. Mix in vanilla.
5. In a separate bowl, stir together all dry ingredients.
6. Mix wet ingredients to dry.
7. Add butter and milk, Mix until combined.
8. Bake 18-20 minutes or until the tops are slightly golden.
Chocolate Frosting: NOTE comes out heavy, see warning in paragraphs above
Ingredients:
3 cups confectioners’ sugar
3/4 cup unsweetened cocoa powder
1 stick unsalted butter, softened
4 tablespoons heavy cream
1 teaspoon vanilla
Directions:
1. Sift sugar and cocoa together in larger bowl
2. In another bowl mix together 4 tablespoons heavy cream, vanilla and butter, beating till smooth.
3. Add sugar and cocoa mixture 1 cup at a time until all combined.

IMG_1666

Red.

2 cupcakes

I hate it. I hate how teachers circle wrong answers in red. I hate how red grabs attention. I hate how it is the color of the store I used to work at. I hate how it was the color of my high school’s mascot. I hate how it is the color of the one cupcake that haunts my dreams. Red velvet, everything about the name is so suggestive. It just screams love, lust and desire, but to me it taunts me with an F marked in red pen.

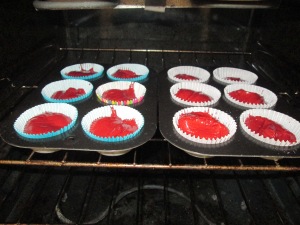
Red velvet cupcakes and I have a past. They are my one culinary failure, the one cupcake I could not serve, the one thing I have ever been ashamed of. The first time I attempted them nothing worked out right, the red was wrong, the batter was too soupy and the cupcake wrappers were wrong. Yes, I have a thing about cupcake wrappers, and the only ones I had left at the time did not match the cupcakes, it drove me crazy.IMG_1216

I was sitting at work on Monday and was thinking it was time for redemption. A girl I work with is obsessed with red velvet cake, and I asked her what she liked about it so much. “The color, duh.” I asked a girl who wants to be a kindergarten teacher, I should have known better.  The one thing I can’t stand, is the one thing she likes the most.  She went on to explain it was the icing that made it, the perfect contrast of a light chocolate cake and super sweet cream cheese.red batter

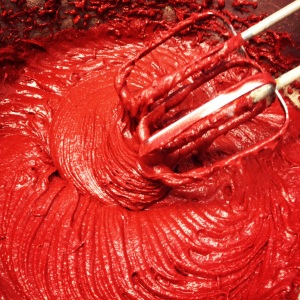
I went for it, took an idea and dove in. I took the recipe I had and threw it out the window (quite literally in fact). I started from scratch with a wonderful cream cheese frosting recipe my mom had and went from there. The results shocked and surprised me. After I made the batter I tasted it, my friend once said that a good tasting batter leads to a good tasting product, it also gives her an excuse to eat my unbaked goods, but the batter was good. I knew these cupcakes were going to be the best red velvet anything I ever made.IMG_1308

And they were, everyone agrees.
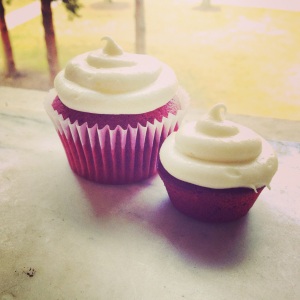
Red Velvet Cupcakes

Makes about 2 dozen cupcakes

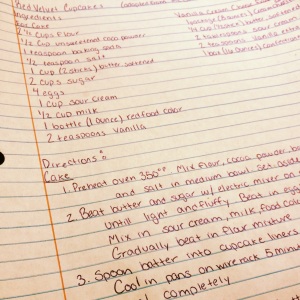
Ingredients:

For the cupcakes:

2 ¼ Cups of flour

1/2 Cup unsweetened coco powder

1 Teaspoon baking soda

1/2 Teaspoon salt

1 Cup (2 sticks) unsalted butter, at room temp.

2 Cups sugar

4 Eggs

1 Cup sour cream

1/2 Cup milk

1 Bottle (1 ounce) red food color

2 Teaspoon vanilla extract

For vanilla cream cheese frosting           

1 Package (8 ounces) cream cheese, at room temp.

1/4 cup (1/2 stick) unsalted butter, at room temp.

2 Tablespoons sour cream

2 Teaspoons vanilla extract

16 ounces (3 ¼ cups) confectioners sugar


Directions:

  1. Preheat oven to 350*F. Mix flour, cocoa powder, baking soda and salt in medium bowl and set aside.
  2. Beat Butter and sugar with electric mixer on medium until light and fluffy. Beat in eggs, one at a time. Mix in sour cream, milk food color and vanilla. Gradually beat in flour mixture on low, until blended
  3. Spoon batter into cupcake liners, about 3/4 full. Bake 20 minutes. Cool in pans on wire rack for 5 minutes, remove from pans and cool completely before frosting.
Frosting:

  1. Beat cream cheese, 1/4 cup butter, 2 tablespoon, sour cream and 2 tablespoons vanilla extract until light and fluffy. Gradually beat in 16 ounces confectioner sugar.